Encoding an RFID Tag in Impinj's ItemTest Software
Introduction
Welcome to this video that will walk you through encoding an RFID tag using Impinj's ItemTest Software. ItemTest is Impinj's demo software that can be used with all Impinj RFID Readers. To watch this video on YouTube - click here.
Note - Fixed Readers
Before we start this tutorial it’s important to remember that fixed readers are made to be the workhorses in RFID systems, and are not often used for writing individual RFID tags. However, in certain situations, fixed readers can be used for one-off tag writing, which is why we are going to walk through the functionality using an Impinj Fixed Reader and ItemTest Software to read and then write UHF RFID Tags. Let’s jump in.
Inside ItemTest
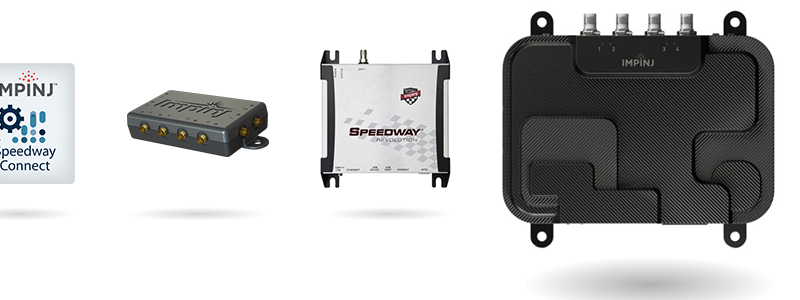
Once you are inside ItemTest and have your RFID reader connected, today we are using the Impinj R700, you are ready to start reading, and for this tutorial, writing, RFID tags. If you need help setting up your RFID reader, or the ItemTest Software - checkout one of the videos that applies to you in the description below.
Click on “Inventory” under Showcases, and start reading tags by clicking the play icon in the top left corner. As you can see, i am currently reading a lot of RFID tags - If you are trying to write a specific tag, which most users will be, I recommend that you either:
a) Take all other RFID tags out of the read zone, or
b) Turn down the transmit power on your specific RFID antenna
I will stop my reader and I am actually going to do both. Alright I took most of the additional tags out of the read zone.
And now i’m going to turn down the transmit power of the one antenna i am using by going to Data Sources, clicking on the tab “Individual Antennas”, and I ended up having to play around to get the right transmit power, and 27 dBm works for my current setup so ill change the transmit power now.
Click Save.
Now go back to your Inventory Showcase and click the play icon again. Now I am successfully only reading one RFID tag.
Click stop and then right click on your RFID tag. And click “Tag Memory Access” so we can open up the Tag Memory Showcase.
Tag Memory Showcase
Once you have the Showcase open, you can see your tag’s EPC number in the top box, followed by the Memory Bank, Word Count, and Word Offset Drop-downs.
I explain these in more detail in the video about Using ItemTest which can be found in the description and in the link on screen now.
In order to change this EPC number, we need to see the full EPC number in the boxes under Tag Memory, which are currently filled with dots. Select in the dropdown the number of Words that makeup your EPC number, and go ahead and select that now.
The top of my screen says this tag is a Monza R6 tag which does have 96 bits, so this tag has 24 Hex Characters, and 6 words, which if you add the two controls, means i have a total of 8 words. If you do not know - you can always increment up until the boxes under Tag Memory fill with XXX’s like this - and then decrease the number back to the last word count that worked.
Okay now our full EPC is listed under “Tag Memory”, but we aren’t done yet. If you Write to the tag right now, it will not work because no matter which characters in this string you try to re-write, the Software thinks you are trying to rewrite the CRC-16 and PC - which in essence, would render the tag unusable.
In order to bypass that, you need to tell the Software that you are only interested in the EPC number, which is where the Word Offset dropdown comes into play. Because the CRC-16 and 16-bit PC are each one word, we need to offset our displayed Tag Memory by two words - so click on the Word Offset dropdown, and click “2”.
Now, because we are telling the software to read the EPC memory, except for the first two words, remember to always decrease the Word Count by the amount of words you Offset. Essentially, right now we are telling the reader to read 8 words, but to start at word 3. If you do that, your Tag Memory boxes will fill with X’s because the reader wasn't able to find 8 words starting at word 3. So on the Word Count dropdown, set your Word Count to 6.
Now click read and you will see that our EPC under “Tag Memory” matches our EPC in the top box exactly. Okay, now that we've read the tag, let's rewrite it. I’m going to rewrite this tag to 24 “2”s, now I'll click “Write”.
If you receive a green message back at the bottom here, your re-write was successful, if an error occurs, sometimes the second time's the charm.
Once your tag is rewritten jump back to the Inventory Showcase, and read your new EPC.
You can also encode a tag using ASCII -I’ll demonstrate that now. I will right click on my new EPC number and open the Tag Memory Showcase once more.
As you can see, our parameters are still there in the drop-downs. Now click in the ASCII box and place in your ASCII information. Remember, an ASCII character is two hexadecimal characters so you are only able to write 12 words. I will write the date like this “08.24.2021xx” just for an example - now i’ll click write.
And we have written in ASCII characters to our RFID tag - let’s go to our Inventory Showcase and see the new EPC number.
Conclusion
That wraps up this tutorial - If you would like to learn about a specific feature in ItemTest, in more depth - comment below and we can work on a quick video to walk you through it!
Thanks for watching this video on How to Encode an RFID Tag in Impinj’s ItemTest Software. Remember to like this video and subscribe to our channel for more videos just like this one!
To read more articles about Impinj products, check out the links below!
R420 -
- How to Set Up The Impinj Speedway Revolution R420 RFID Reader
- Impinj R420 UHF RFID Reader Quick Start Guide - Starting Reading RFID Tags with the R420 in 3 Minutes
R700 -
- Introducing the Impinj R700 UHF RFID Reader
- Impinj R700 UHF RFID Reader Overview | Product Specs, Features, & Key Highlights
ItemTest -
Speedway Connect Software -
- Impinj Speedway Connect Software | Installing the Software
- Impinj Speedway Connect Software | Navigating the Interface
- Impinj Speedway Connect Software | How to Use the Output Options
SDK -