How to Program an RFID Tag | 3 Step Tutorial
Published May 2022 | Updated January 2026
Programming an RFID tag can be straightforward when you know the fundamentals, have the right tools, and follow a consistent process. In this tutorial, we walk through a clear, 3‑step guide to programming RFID tags — from understanding memory banks and formats to choosing hardware/software and writing your data.
Whether you’re encoding a single tag or preparing a batch for inventory or tracking, this article gives you the fundamentals and step‑by‑step actions to get started successfully.
How to Program an RFID Tag – Quick Overview
- Step 1: Gather fundamentals (memory banks, formats, size limits)
- Step 2: Select hardware and software
- Step 3: Program your tag with chosen tools
Before Encoding an RFID Tag
Before encoding an RFID tag, you should understand:
Step 1: Gather Fundamentals
Before programming an RFID tag, you need to decide where the data goes, how it will be formatted, and how much data the tag can hold.
1. Choose the Memory Bank
RFID tags have multiple memory banks, but only two are typically re‑writable:
- EPC memory bank: Used in most applications and read by default
- User memory bank: Used when EPC runs out of space
Best practice: In most cases, encode data in the EPC memory bank.
2. Select a Data Format
RFID data can be encoded using the following formats:
- Hexadecimal (Hex): Numbers 0–9 and letters A–F
- ASCII: Letters, numbers, and special characters
Best practice:
- Use Hex for simplicity and compatibility
- Use ASCII if your data includes full words, SKUs, or special characters
The format you select tells the reader how to decode the binary data stored on the tag. If the reader is set to the wrong format, the data will appear incorrect.
3. Confirm Character Limits
Character limits depend on the tag’s EPC memory size and your chosen data format:
- Divide EPC bits by 4 for Hex
- Divide EPC bits by 8 for ASCII
Example: A 96‑bit EPC memory supports:
- 24 Hex characters
- 12 ASCII characters
Once you know which memory bank to use, how your data is formatted, and how much data will fit, you are ready to program your RFID tags.
Step 2: Select RFID Hardware & Software
To program RFID tags, you will need:
- An RFID reader with an antenna (external or internal)
- Software to control the reader
- Passive UHF RFID tags
This article walks through two low‑cost options for easy tag programming.
RFID Hardware
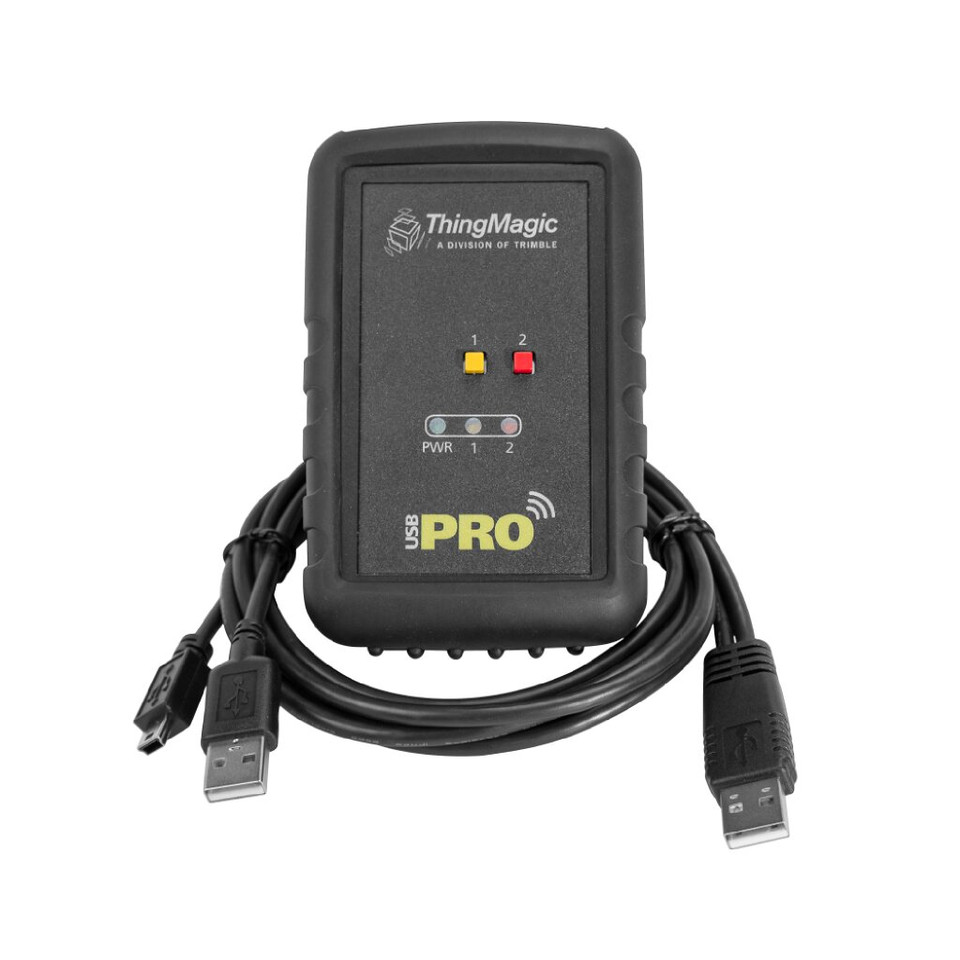
In both options we will use the ThingMagic USB Pro RFID reader — a reliable, compact, and easy‑to‑use tool ideal for reading and writing RFID tags. USB RFID readers are particularly useful for testing and programming because of their portability and simple connection.
RFID Software
We will walk through tag programming using two types of UHF RFID software:
- ThingMagic URA Software (Free): Works with the USB Pro reader and is ideal for single or small batch encoding.
- Vulcan RFID UHF Tag Read & Write Software ($349): A higher‑feature tool that supports bulk programming via Excel upload — best for large batches.
Step 3: Program Your RFID Tag with Your Chosen Tools
Below we cover step‑by‑step programming using both hardware/software combinations. In these examples:
- We use a tag with a 96‑bit EPC memory bank
- We use Hexadecimal encoding (0–9, A–F)
- A 96‑bit EPC bank supports 24 Hex characters
Programming an RFID Tag with ThingMagic URA Software
- Download and open the ThingMagic URA Software
- Plug in your ThingMagic USB Pro RFID Reader
- Click “Refresh” to see your reader, then click “Next”
- Select your region (e.g., “NA” for North America)
- Click “Connect”
- Open the “Write EPC” tab
- Keep Hex selected (default), click “Read” to get current EPC
- Enter your new EPC in the “New EPC” box and click “Write”
Programming RFID Tags with Vulcan RFID Read & Write Software
- Download and open the Vulcan software
- Plug in your ThingMagic USB Pro RFID Reader
- Select “ThingMagic (Jadak)” from Manufacturer
- Select “Serial” as the connection type
- Scan available ports to identify your reader
- Click “Connect Reader”
- Click “Read” to view current EPC data
- Enter your new data and click “Write”
*To switch between Hex and ASCII, use “Configure Reader” and toggle the “Show tag data in” option.*
RFID Programming: Key Takeaways
RFID Tag Fundamentals
- RFID tags consist of a chip (stores data), antenna, and substrate.
- Tags ship pre‑programmed but can be re‑encoded with custom values.
Before You Program
- Choose the memory bank — EPC is default and easily read.
- Select your data format — Hex or ASCII.
- Know character limits by dividing EPC bits based on format.
Hardware & Software
- An RFID reader, software, and tags are required to program.
- USB readers with free software are good for single writes; advanced tools handle bulk programming.
Programming Basics
- Connect, read, enter new data, and write to the tag.
- Ensure the reader’s format matches the encoded data.
Practical Benefits
- Properly programmed tags improve identification, inventory tracking, and automation.